We can never resist a shopping spree, and we’ve recently filled our makeup cabinets with some exciting new products.
Wondering what we’re going to be doing with them?
Trying out the hottest makeup trends for fall, of course! Here are 10 to get started with…
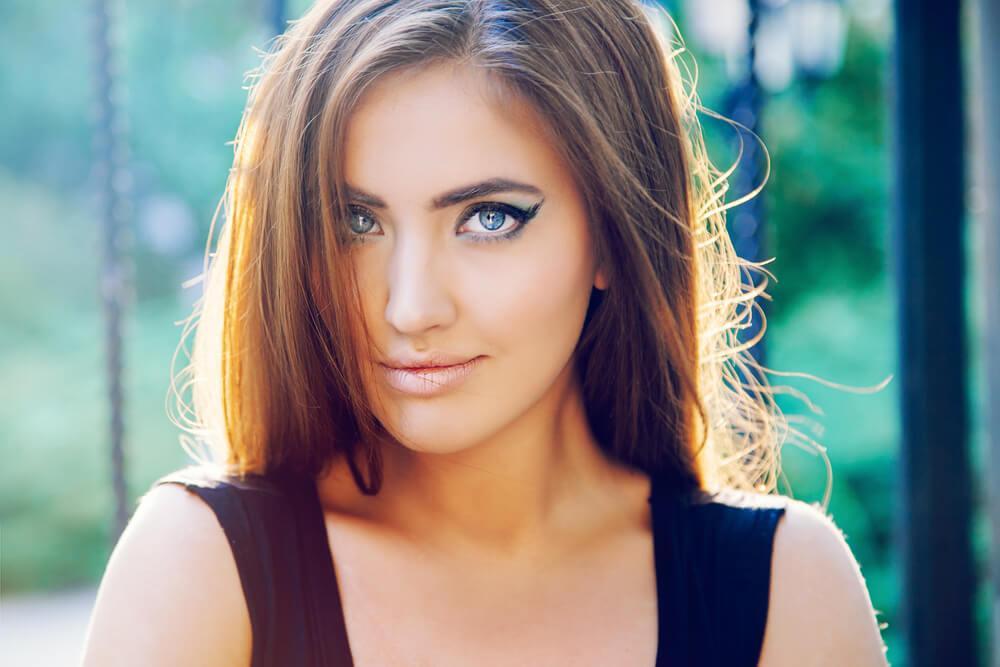
The Rosy Glow
https://www.instagram.com/p/B0EWCgPA789/
The first place we always turn to for inspiration is the red carpet. So, when we saw that rosy glow on Alison Brie, we knew how to put our Nars Blush to good use. Instead of using our go-to foundation, we got things glowing with a glow-boosting primer. Then, we layered our foundation on to even out our skin tones. Once we got that covered, it was time to apply our rosy shade (we used Angelika, but we were tempted to buy them all).
Using our big fluffy blush brushes, we swiped the color on our cheeks, carefully tapping off any excess. Next, we sucked in our cheeks to get that “fish face look,” and applied our blush to the tops of our cheekbones using upward motions. Then, we said “cheese” (smiled big) and dusted an extra layer on for good measure. We toned it down a bit with a light face powder, which also helps to keep the whole look in place.
A Dash of Blue
https://www.instagram.com/p/B17D5Q-BBKk/
Once we heard Priyanka Chopra was chosen as one of Forbes Magazine’s Most Powerful Women, we figured we had to get some inspo from her. So, when we saw her wearing the same Dior Onstage Liquid Liner in pearly turquoise that we had just purchased, we had to apply it before word got out. To do it like Chopra:
- Start the line moving from the inner to the outer corner of your eye.
- With your eyes open, extend the line outward to make your eyes pop.
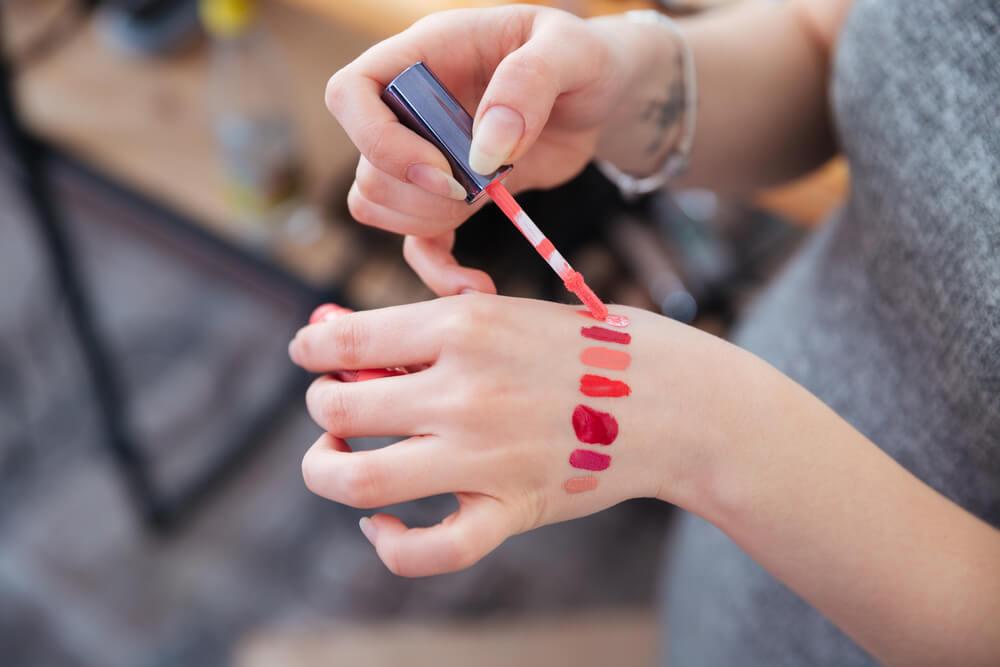
Mauve Lips
https://www.instagram.com/p/By5P5IjIPro/
We have to admit that when we saw this shade of mauve in the store, we knew we had to have it.
But, once we got home with it, we started to have second thoughts…
Luckily, when we saw Elizabeth Olsen wearing it, our fears were quickly banished. To get the Olsen look for this fall, check out the Mauve for Me Satin Mauve Lipstick from Maybelline.
A Classic Cat Eye
https://www.instagram.com/p/B1mUQ6Jn7m1/
Before we walked into the makeup shop, we knew we would be walking out with some inky black eyeliner to create the perfect cat eye.
Want to make sure that yours is up to Kardashian-standards?
Here’s how to create a flawless cat eye:
- Draw a line at an angle.
Lower your eyelid so you have a smooth canvas to work on. Draw a line from the outer corner of your eyelid going up and out at an angle. If it’s easier, start above your eye and draw the line downwards instead. Make sure to exaggerate the length and the angle; the line will look smaller when you open your eyes.
- Make a Triangle
Create a triangular shape by connecting the top of your flick down to your lash line.
- Fill in the Triangle
Use liquid liner to fill in the triangle. Layer enough so that color is saturated and the texture is smooth.
- Connect the Triangle to Your Lash line
Smooth out the area where your triangle meets your lash line. Draw a line connecting the triangle to the inner corner of your eye. Apply the liner more thickly where it meets your lash line and gradually thin it out as you get closer to the inner corner of your eye.
- Touch Up Mistakes
(We sure made enough of them to know how to fix them).Dip a Q-tip in a pot of makeup remover or Vaseline and use it to erase smudges and sharpen edges.
- Apply Mascara (Heavy-Handedly)
For a battable, flirty cat eye, wait for the liner to dry and apply mascara (several coats).
A Deep Burgundy Pout
https://www.instagram.com/p/BslPP4flx5y/
When we first saw the rich burgundy matte lipstick by Charlotte Tilbury, we threw it into our basket without a second thought.
Wine-colored lips pair perfectly with a smoky eye, but also work with a lighter overall look too.
Can’t stop the pigment from feathering?
Prep your lips with a lip liner first to prevent the color from bleeding.
Lush Lashes
https://www.instagram.com/p/B0lUuAKBA8H/
After we came back from our little spree, we realized we had enough mascara to coat the lashes of all the Disney Princesses and Bambi’s entire family. Luckily, we saw Penelope Cruz before the thought of returning them even crossed our minds. To pull off a lush-lashed look in no time, wiggle the wand from the roots to the tips, fanning lashes outwards towards the temples for an extra fluttery effect.
Natural-Looking Brows
https://www.instagram.com/p/B180ZqMAa1d/
We’d like to say we walked right past the tweezers, but we’re not quite there yet. However, we’re committed to using them subtly to get a natural look, and Solange Knowles is our inspo. Now that we’re in the Knowles, we thought we’d share some tips with you:
- Use flicking motions to create realistic-looking hair. Whether you’re using a shadow, a pencil, or brow wax, try to avoid applying any product with a single swipe. Fill in your brows using sketchy lines to make them look more natural.
- Don’t overextend the tail of your brow. Your brows naturally stop at a place that lifts your face up and out. When you overextend the tail of your brow, it pulls your face down, making it look droopy. To figure out where your tail should end, hold an eye pencil diagonally along the side of your nostril to the outer corner of your eye. Use the place where the pencil hits your brow bone as a guideline for where your eyebrow should extend to at maximum.
- Create a Believable Arch. Solange gave us a lot of inspo on this part. (Her arches are unbelievably believable. To avoid looking like Jack Nicholson (not that’s it not working for him), lay your eye pencil diagonally along the side of your nostril to the middle of your eye. Next, work your brows downward using a spoolie brush. Using your product of choice, alter your brow shape ever so slightly to create a slight peak where your natural arch is. Brush hairs back upward using a spoolie brush so they fall into shape creating a natural-looking arch.
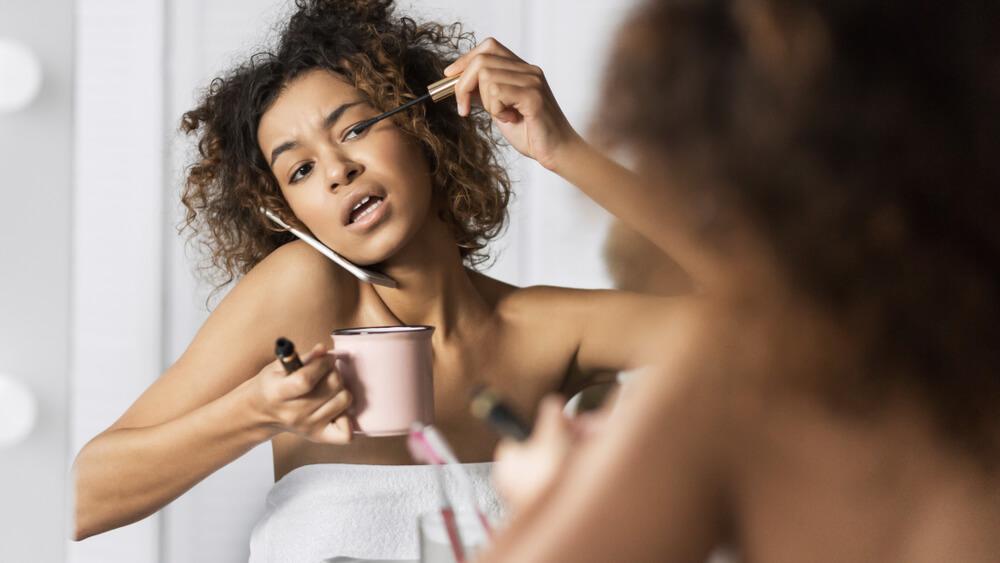
Smoky Eyes
https://www.instagram.com/p/B1oAKqkoZeZ/
We know that the smoky eye look will never go out of style, which is why we cleaned out stock on the Urban Decay Naked Smoky Eye Shadow Palette. The kind folks at Urban Decay threw in a tutorial on how to create not one, but four amazing ways of creating the smoky eye look. We’ve been studying it and taking notes for the past few days, and we’ll fill you in on what we’ve learned so far.
- Primer. Start by applying a good primer. It will keep the shadow locked in and prevent creasing throughout the day. Use the primer under the lower lash line so that the product grips to the under-eye area as well.
- Apply Base Eyeshadow: Now it’s time to put your UD palette to the test. Apply your base eyeshadow color along your top eyelid, starting from your lash line, working towards your crease. If you’re going for a dark smoky eye, your base coat should not be the darkest color in your palette. Go for a medium to dark shade, such as a charcoal gray or deep metallic. For added definition apply this same color to your lower lash line using a pointed eyeshadow brush.
- Define the Crease: Dip your brush in the darkest shade and tap off any excess. Apply the crease color starting at the outer corner of your eye and extending ¾ of the way into the crease using a ponytail shadow brush making sure to brush in a circular motion. If the effect looks too heavy, blend the extra product in using a clean brush. Take the base color and apply a small amount to the center of the lid to create dimension.
- Eyeliner. You know that no smoky eye is complete without some fierce black liner; either liquid or pencil will do the trick nicely.
- Clean-Up: Not only have our UD smoky eye palettes on hand, but we also loaded up on some Q-tips and micellular water to correct our inevitable mistakes. (we’re running low already). Use these to clean up any fallout or even out the lines. Alternatively, use a highlighter under your brow bone and above to make a clean transition between colors.
This is the perfect dramatic eye makeup look for fall.
Dewy Skin
https://www.instagram.com/p/B19O6_PgqqK/
So, we’d been hearing a lot about this K-beauty glass skin trend, and we have to admit, the skin on those avid practitioners looks so poreless and luminous that we were kind of tempted to try it out for ourselves. But then we heard it had eleven steps to it, and we decided it just wasn’t going to happen. However, we did stock up on several moisturizers because we saw so much of the dewy skin look on the catwalk. And luckily, we got it down to five manageable steps, as follows:
- Clean your face and skin.
- Apply foundation to even out any blotches.
- Fill in your brow using a small angled brush dipped in brow powder.
- Create a healthy flush by blending cream blush into the apples of your cheeks using a blush brush.
- Using your fingers, apply a cream highlighter onto the tops of your cheekbones, along your brow bone, down the center of your nose, in the middle of the bottom lip and on your chin.
Smudged Eyeliner
Now, this was a look we could really get behind – partly because we saw it on Emmy Rossum and partly because we can get the look in our sleep, literally. To get the smudgy look using a more hygienically correct technique:
- Staying as close to your lash line as possible, draw a line with the pencil from the middle to the corner of your outer eye.
- Complete the line by starting at the middle and tapering toward the inner corner of your eye.
- Draw a few dashes right underneath your water line. For a more intense look, make more dashes closer together. For a less intense look make fewer dashes further apart.
- Use the smudge brush end of your pencil to blend your dashes together, moving from the inner corner to the outer until you have achieved your desired effect. Smudge the upper line as well, moving from the outer corner to the inner. If the brush on the liner is tapered, try smudging out the corners to create a light wing.


Leave A Comment